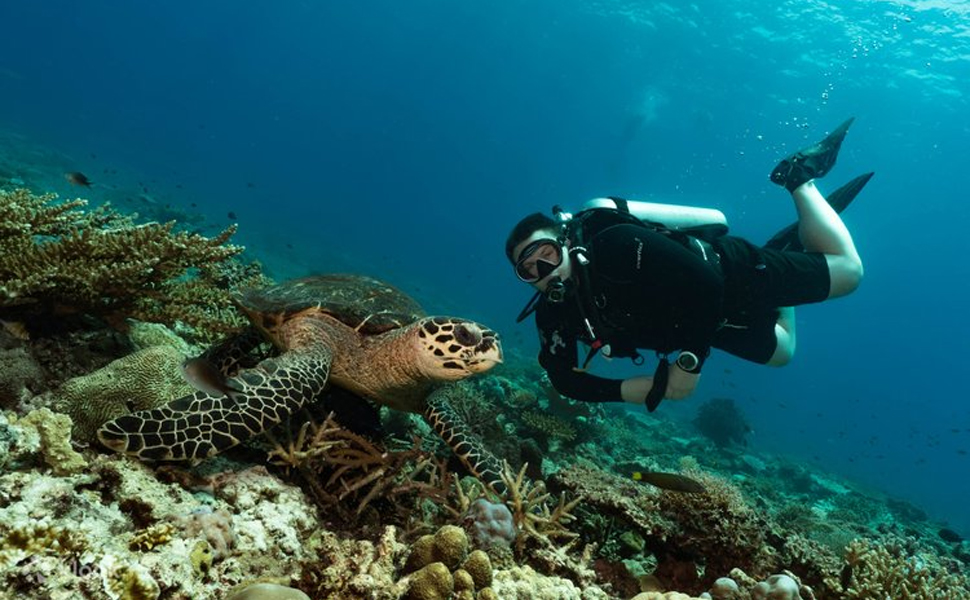
Underwater photography opens a breathtaking world of colors, textures, and movements invisible to the naked eye on land. However, capturing this beauty requires more than just a waterproof camera — it depends heavily on proper lighting. Whether you’re exploring coral reefs, photographing marine life, or creating artistic underwater portraits, understanding how to use lighting effectively can transform your images from dull to captivating.
1. Why Lighting Matters Underwater
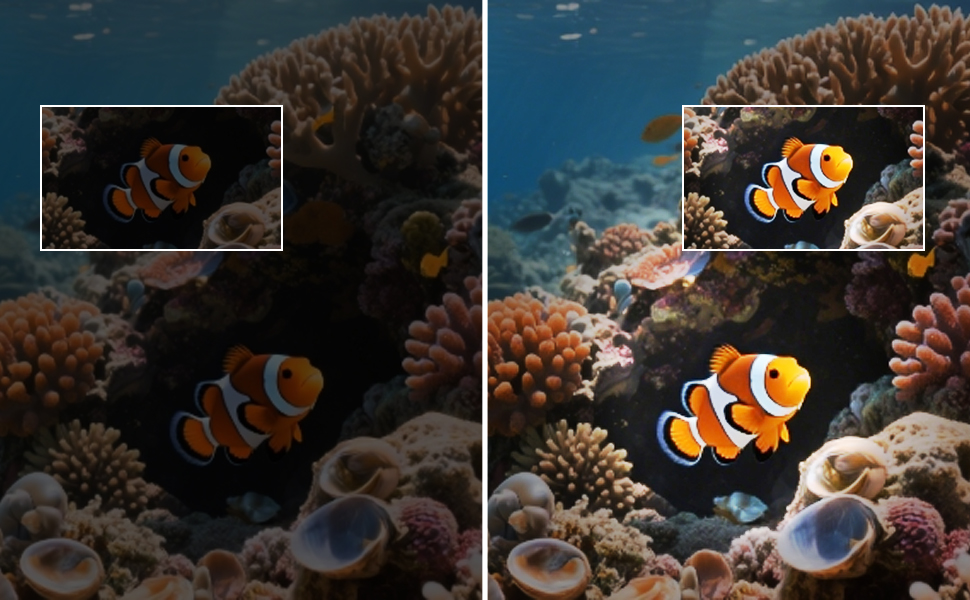
Water absorbs and scatters light differently than air. The deeper you go, the more color and contrast you lose — especially reds and yellows, which disappear first. Without an additional light source, photos often appear blue-green and lack detail.
That’s why underwater lighting equipment, such as LED dive lights or strobes, plays a crucial role. They bring back the natural colors of the scene, enhance sharpness, and highlight your subject, helping you achieve a more vivid and realistic image.
2. Choosing the Right Lighting Equipment
When selecting underwater lights, consider these factors:
-
Brightness and Beam Angle: Wide beams (around 100°–120°) work well for wide-angle shots, while narrow beams are better for focusing on small subjects or details.
-
Color Temperature: Look for lights with a balanced white tone (around 5000–6000K) to reproduce natural colors underwater.
-
Durability and Waterproof Rating: Ensure your light can withstand the depth you plan to dive and has a reliable sealing design to prevent leaks.
-
Mounting Flexibility: Adjustable mounts or handheld options give you more creative freedom in positioning the light.

3. Setting Up the Light for Best Results
Position your lights at an angle rather than directly in front of the subject. This reduces backscatter — the tiny white particles that appear when light reflects off suspended debris.
If possible, use two lights for even illumination and better control of shadows. Adjust their distance and direction based on the size of your subject and the clarity of the water. Remember: the goal is to recreate natural light rather than overpower it.
4. Composition and Color Balance
Once your lighting is set, focus on composition. Place your subject against a darker background to make it pop, or use light to guide the viewer’s eyes through the frame.
Also, adjust the white balance in your camera to correct color shifts caused by depth and water conditions. Many cameras allow manual white balance or RAW shooting, which gives you flexibility in post-processing.
5. Practice and Experimentation
Underwater lighting is both science and art. Conditions like water clarity, depth, and time of day can all affect your results. Experiment with different light positions, distances, and intensities. Over time, you’ll develop an instinct for what works best in each situation.
Conclusion
Good underwater lighting can make all the difference between a flat photo and one that captures the magic of the ocean. By understanding how light behaves underwater and learning to control it creatively, you can elevate your underwater photography to a new level of clarity and color.


